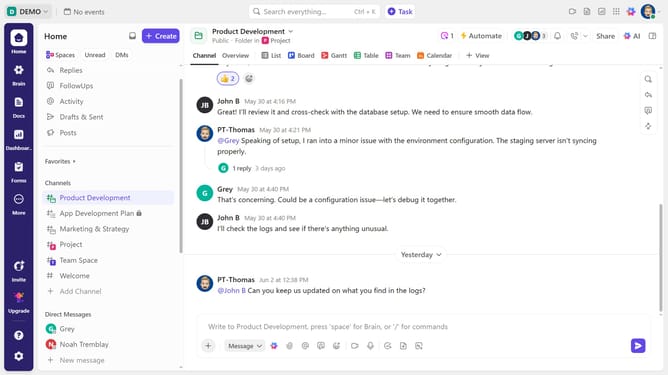
How to apply a folder template in ClickUp
Here is how to apply a folder template in clickup
- First in the left sidebar, hover over the Space where you want to add a Folder and click the "plus" icon
- Next click on "Templates" option from the dropdown menu
- Select "Folder" filter in the Template Center's left sidebar
- Then, browse your Workspace templates and click on a template to view its details
- Click the "Use Template" button in the template details view
- Enter a name for the folder in the folder name field
- Click the folder location dropdown to open location options
- Select a space from the location options list
- Next customize the import options, and project dates as needed
- Finally click the "Use Template" button to create the folder
Why should you apply a folder template in ClickUp
ClickUp is a versatile project management tool designed to streamline your workflow.
One standout feature of ClickUp is the ability to apply folder templates, allowing teams to quickly duplicate pre-defined structures and tasks.
Using folder templates enhances efficiency, ensuring consistency across projects and saving valuable setup time.
Implementing these templates simplifies project initialization, allowing your team to focus on what really matters—achieving goals and driving success.
Last update