How to add a custom header and footer in Confluence
Here is how to add a custom header and footer in confluence
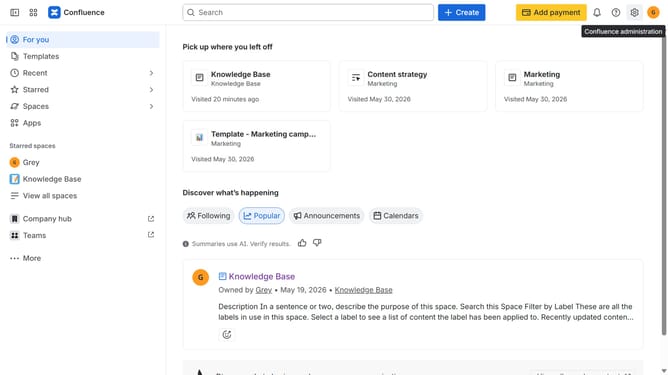
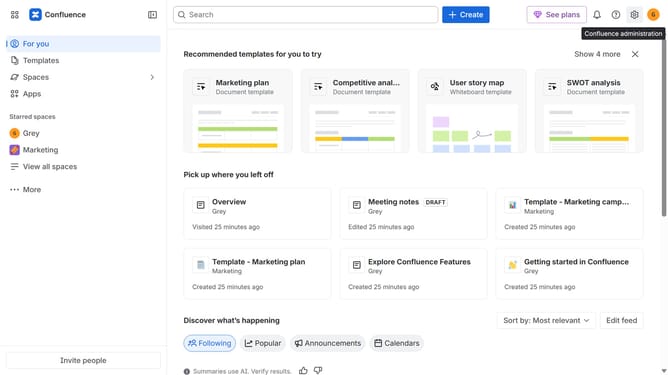
- First, click on the gear icon in the header to open Confluence administration
- Click on "Look and feel" in the settings menu
- Next click on "Header and footer" in the submenu
- In the "Header" text box, enter the content you want to display at the top of every page
- Then, in the "Footer" text box, enter the content you want to display at the bottom of every page
- Optionally, use wiki markup to add text, links, macros, or images
- Finally click on the "Save" button to confirm
Why should you add a custom header and footer in Confluence
Confluence is a powerful collaboration tool designed to enable teams to create, share, and manage content seamlessly.
Adding a custom header and footer in Confluence elevates your workspace by providing a consistent look and feel across all pages. This feature allows you to incorporate branding elements, contact information, or navigation links, which enhances both the aesthetic and functional aspects of your content.
By customizing your headers and footers, you ensure that vital information is always accessible, fostering a more organized and professional environment.
Last update