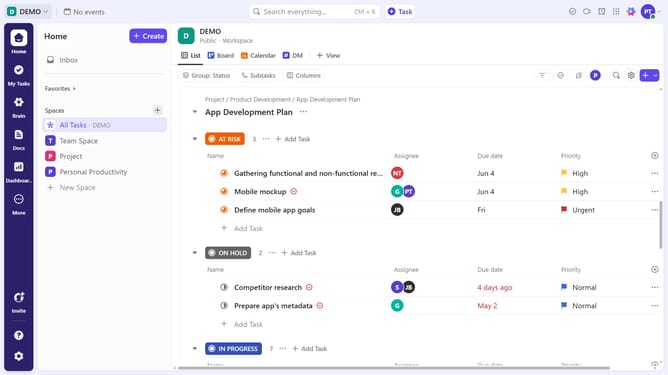
How to add dependencies between subtasks in ClickUp
Here is how to add dependencies between subtasks in clickup
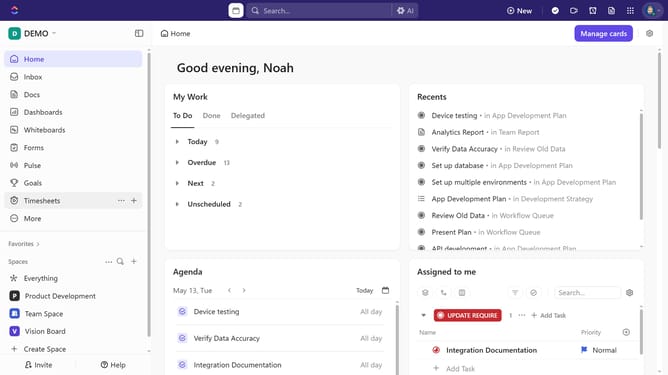
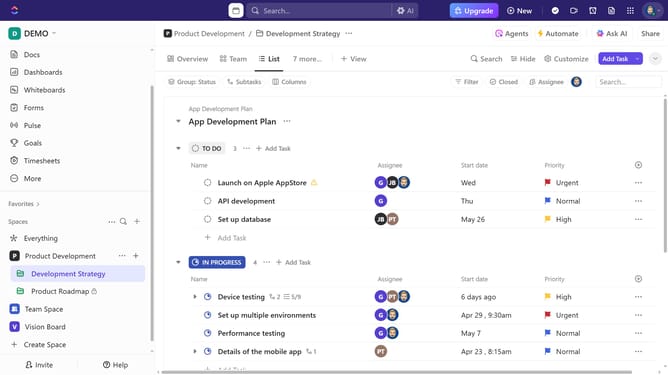
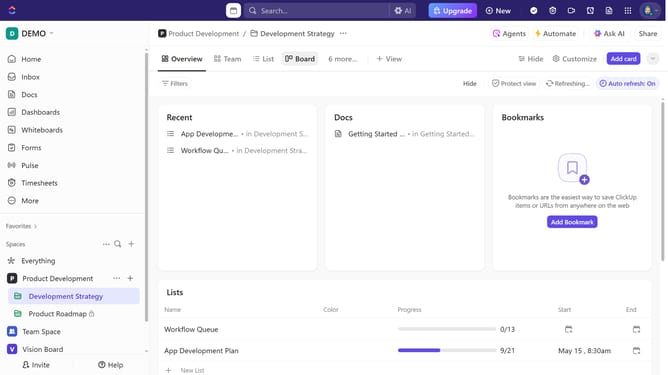
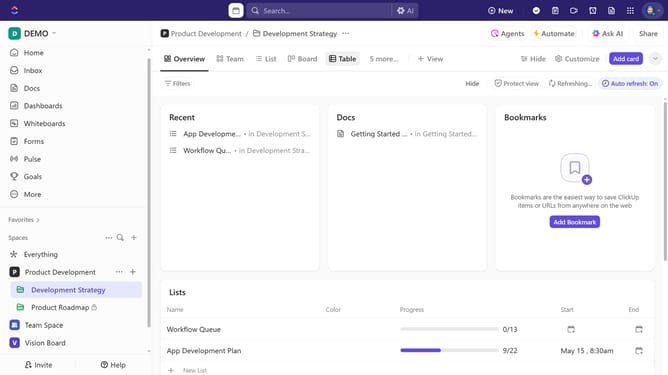
- First in the left sidebar, under the relevant Space, click on the Folder or List that contains the subtask
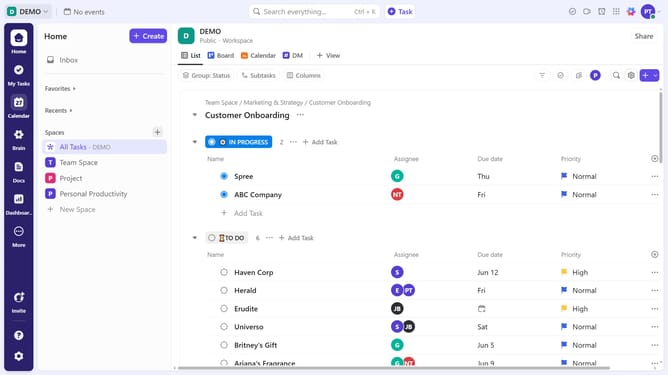
- Then in your preferred view, locate the task containing the subtasks you want to link with dependencies
- Next click on the subtask dropdown menu under the task
- Then click the menu icon (three dots) next to the subtask
- In the opened menu, click on the "Dependencies" option
- In the Dependencies modal window, choose the type of dependency such as Waiting On, Blocking and Tasks
- Next, select a subtasks from the task and subtask list
- Finally, click the "Close" button (X icon) in the top-right corner of the Dependencies modal
- After completing these steps, your subtasks will be successfully linked with dependencies, ensuring a structured workflow
Why should you add dependencies between subtasks in ClickUp
ClickUp is a versatile project management tool designed to streamline workflows and enhance productivity.
Adding dependencies between subtasks in ClickUp is an excellent way to ensure that tasks progress smoothly and efficiently. This feature allows you to link subtasks so that the completion of one triggers the start of the next.
By establishing these relationships, teams can better allocate resources, avoid bottlenecks, and maintain momentum, ensuring that projects are delivered on time. Ultimately, it enhances team collaboration and keeps everyone aligned toward shared goals.
Last update