How to add a start date from List view in ClickUp
Here is how to add a start date from list view in clickup
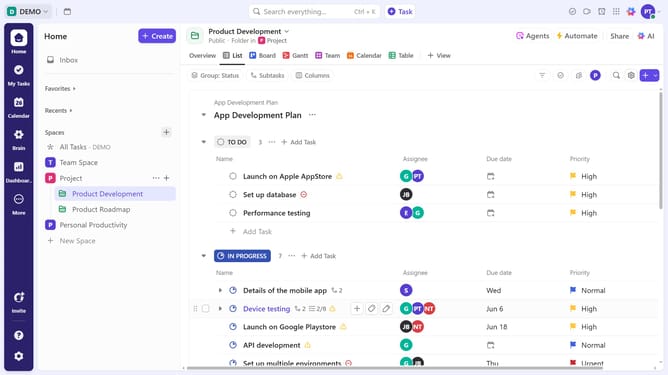
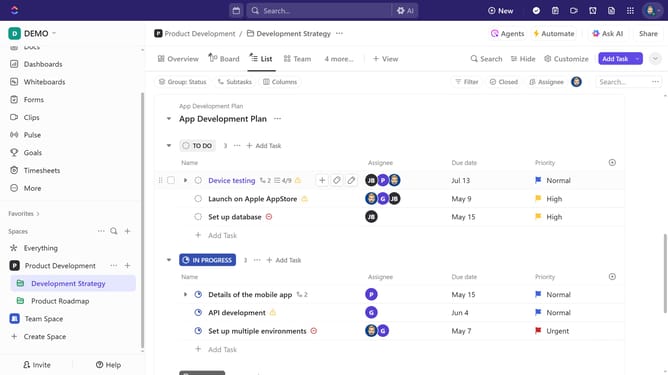
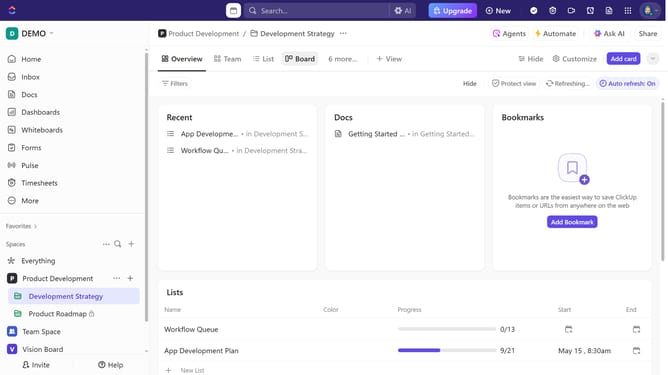
- First navigate to the List view from the views bar at the top
- Locate the task you want to set a start date for, then click the "Start Date" field
- Next choose a date from the selector or type in a date using natural language (e.g., "Friday at 3pm")
- To add time, click on "Add time" field
- Then select a time from the time picker
- You can also add a due date if needed
Why should you add a start date from List view in ClickUp
ClickUp is the all-in-one productivity platform designed to empower teams by streamlining workflows and enhancing collaboration.
Adding a start date from List view in ClickUp allows users to gain precise control over task schedules. This feature ensures that every project and task is anchored with a clear timeline, fostering better planning and time management.
Utilizing start dates helps teams visualize their workload, anticipate upcoming tasks, and allocate resources effectively. This ultimately leads to a more organized, fluid, and efficient workflow.
Last update