How to create a Calendar view in ClickUp
Here is how to create a calendar view in clickup
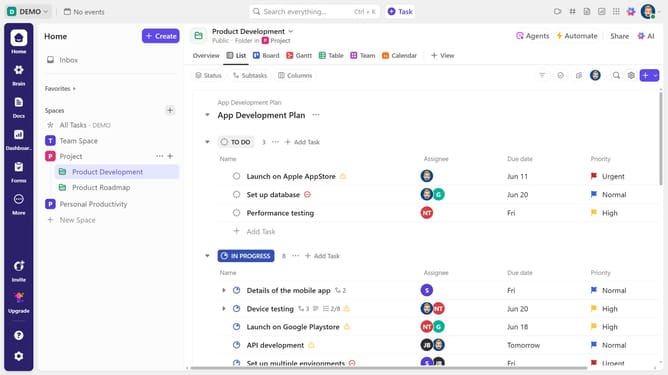
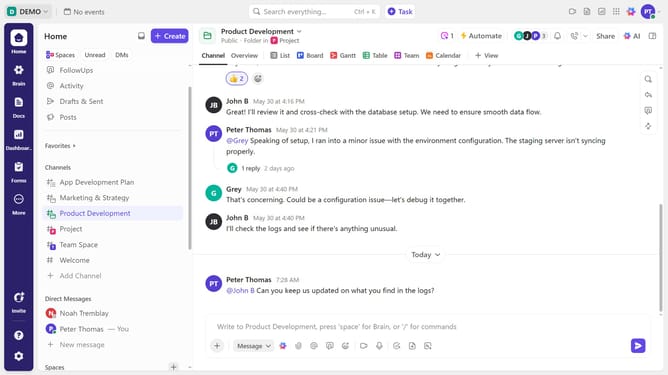
- First navigate to the Space, Folder, or List where you want to create the Calendar view
- Then click on the "+ View" button in the top navigation bar
- Next select "Calendar" option from the view selection menu
- Once you’ve created the view, enter a name for it in the Customize view panel
- In the "Customize the view" panel, customize the calendar view settings as needed
- You can now view and manage tasks directly within the Calendar view
Why should you create a Calendar view in ClickUp
ClickUp is an all-in-one tool designed to streamline your productivity and project management tasks.
Creating a Calendar view in ClickUp transforms your workflow by allowing you to visually track deadlines, events, and tasks in a cohesive format.
This intuitive feature provides clarity by displaying time-sensitive activities, helping you prioritize deadlines efficiently.
Utilizing the Calendar view in ClickUp boosts your organization and ensures nothing falls through the cracks, keeping your team synchronized and on track.
Last update