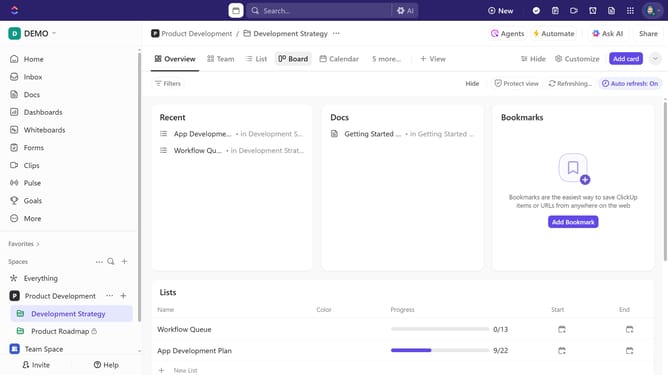
How to change the Calendar timescale in ClickUp
Here is how to change the calendar timescale in clickup
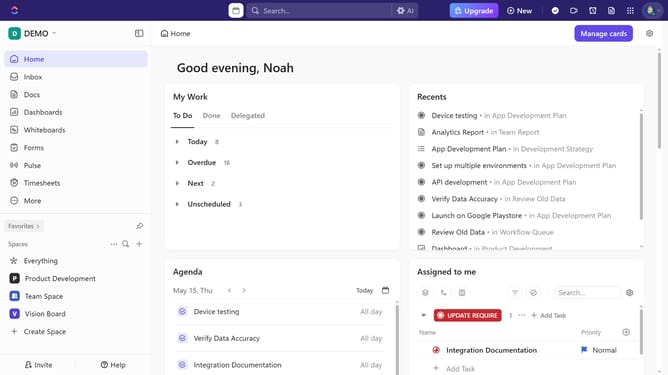
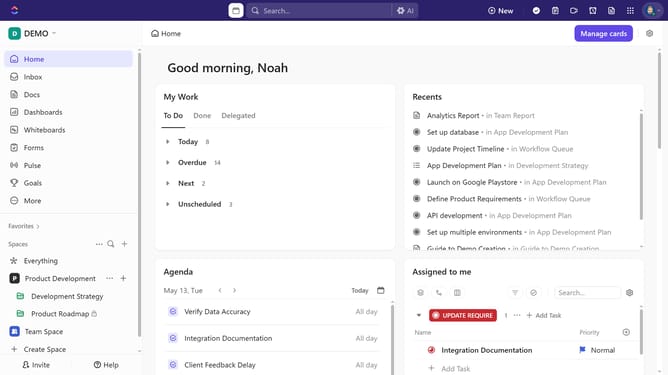
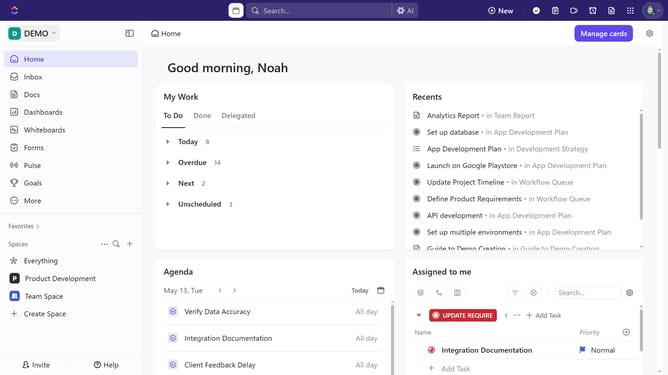
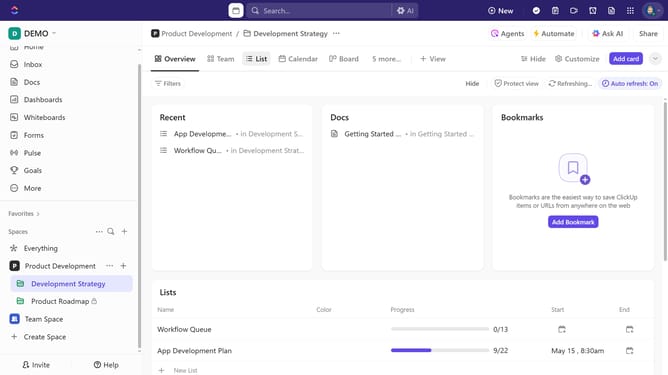
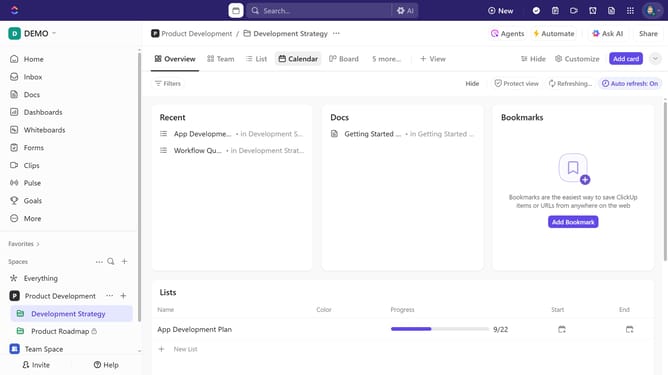
- First click on the "Calendar" icon in the top left toolbar
- Then click the current timescale. By default, Week is selected
- Next select a timescale from the available options (Day, 4 days, Week)
- You can change the Calendar timescale using the following keyboard shortcuts : Day: 1, 4days: 4, Week: Shift + W
- Alternatively, click the search bar located in the bottom dock
- Then click on the "Change display days" option
- Finally select your preferred option from the command menu
Why should you change the Calendar timescale in ClickUp
ClickUp is an all-in-one productivity platform designed to streamline work and enhance team collaboration.
Changing the Calendar timescale in ClickUp allows users to view their tasks on various timescales, catering to diverse project needs.
This feature offers flexibility, allowing for a broader perspective on long-term projects or a detailed view of daily tasks. Adapting the timescale enhances planning efficiency, ensuring that deadlines and milestones are always in clear view.
Ultimately, it empowers teams to optimize their workflows and manage time effectively.
Last update