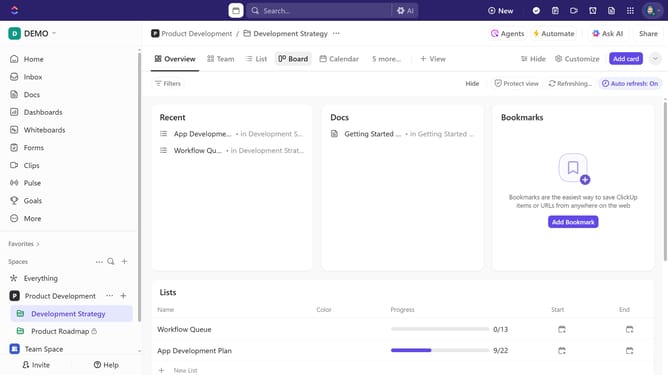
How to add a time entry from the Quick Action menu in ClickUp
Here is how to add a time entry from the quick action menu in clickup
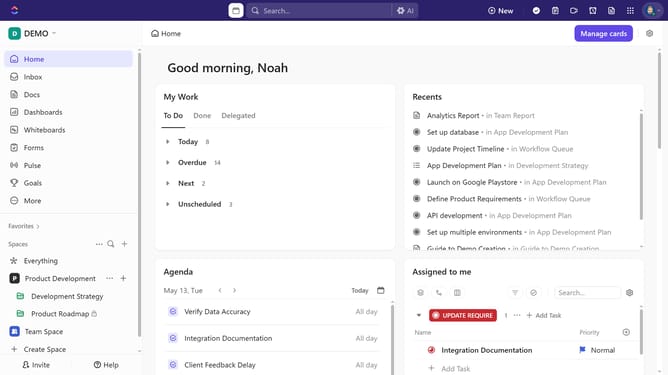
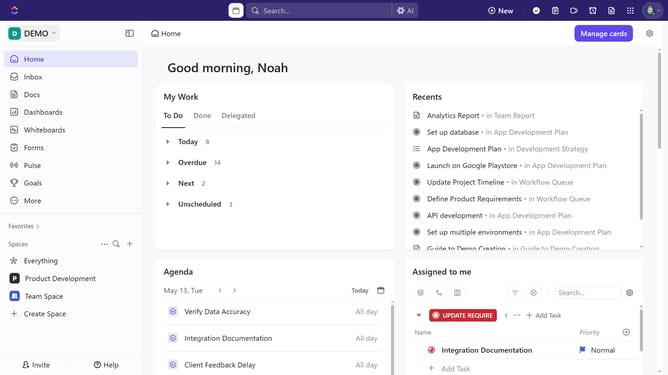
- First click the Quick Action menu in the upper-right corner of the toolbar
- Next click on the "Track Time" icon in the quick access menu
- Click on the "Select task" dropdown in the time tracking panel
- Then select the task where you want to track time from the task list
- Next click on the "Enter time" field to add time manually
- The enter the amount of time worked (e.g., 30m or 2h25m) and press "Enter"
- Next select a date and time range to specify when the work was done
- Mark the entry as billable or non-billable and add a note or time tracking tags if needed
- Finally, click the "Save" button to save the time entry
Why should you add a time entry from the Quick Action menu in ClickUp
ClickUp is a versatile productivity platform designed to streamline project management tasks.
One standout feature is the ability to effortlessly add a time entry from the Quick Action menu.
This feature enhances productivity by allowing users to log time quickly, without navigating away from their current task.
By providing a more efficient way to track time, this feature helps teams maintain accurate records, ensuring that project timelines and budgets are always on track.
Last update