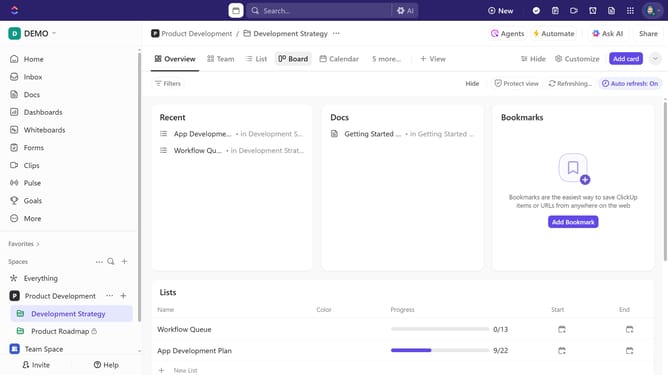
How to add a time entry from a task in ClickUp
Here is how to add a time entry from a task in clickup
- First click on the task where you want to add tracked time
- Next click on the "Track time" field in the task details panel
- Click on the "Enter time" field to add time manually
- Then enter the amount of time worked (1h or 2h25mn) and press "Enter"
- Next select a date and time range
- Mark the entry as billable or non-billable and add a note or time tracking tags if needed
- Finally click the "Save" button to save the time entry in the task
Why should you add a time entry from a task in ClickUp
ClickUp is a versatile productivity platform designed to streamline your workflow and maximize efficiency.
Adding a time entry from a task in ClickUp allows you to effortlessly track the time spent on specific tasks, enhancing project management precision.
By incorporating this feature, you gain valuable insights into productivity patterns and resource allocation. This not only aids in accurate billing but also fosters transparent communication with your team.
Ultimately, it empowers you to make informed decisions while keeping projects on track and within budget.
Last update